
Today I got an message from a close friend over on Facebook claiming that they could not figure out exactly how to produce a picture album. From the description they left me I realized that they were perplexed by Facebook's complex user interface so I determined to post an illustrated lesson right here on my website. It's actually not as difficult as you believe!
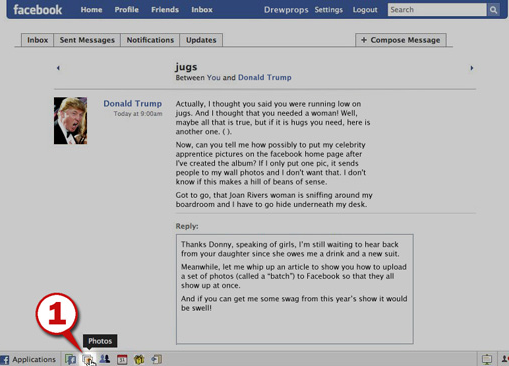
Initially, look in the lower left corner of your internet browser's home window. See the symbols down there? Those are shortcuts to a few of the applications available to you on Facebook. Callout # 1 is indicating an orange symbol with an individual's silhouette in it. This stands for the Photos application (and also will as a matter of fact alert you to that fact if you float your mouse over it). Proceed and also click that symbol ..."

Don't ask me why, but when you click the Photos application button it does not take you to your very own image album( s), it takes you to an usual location where you can see all of your close friends' image cds. Useful if you're just intending to go browsing, unhandy if you're headed to go handle your albums ... suggesting that there's another click we require to make. Check out Callout # 2 which is pointing to a link that checks out "My Photos". That's where we need to go, so click it!

You have actually arrived at the location where your very own picture albums are maintained. This is the location from where you can go and also modify existing image albums or create new ones. Making new ones is what we want, so check out Callout # 3 which is pointing to a link which checks out "Produce a Picture Album". That's what we desire, so click it!

Making a brand-new album is very easy! Simply provide your new cd a name (" My 30th Birthday Celebration Celebration", for instance), provide it an area if you so desire (" Flight terminal Hilton"), and also give a short description (people really do review captions, so make them fascinating!). Next, decide that you wish to be able to see these images. If you don't mind sharing them with the globe, then choose "Everybody" from the pop-up listing at the end of the images shown with Callout # 4.

The only thing delegated do is to click the button "Produce Cd" as suggested by Callout # 5. Go ahead and also click it. If you decide later that you don't wish to maintain this album you can constantly delete it (though I'm not going to reveal you how to do that in this article, so you're on your very own if you upload anything that might get you in trouble!! LOL).

Considering that you're about to open your computer to an additional computer system you require some assurance that Facebook is actually the entity with whom you'll be managing, which is why they provide a Security Certification to your browser. This little bit of digital handshaking is intended to develop that safe and secure connection ... and also the only means you're mosting likely to be able to upload your photos, so your just genuine alternative is to click the switch that Callout # 6 is pointing to marked "Count on". I don't understand about you, but I'm mosting likely to do it now!!

After a few minutes (the connection procedure depends upon your connection rate as well as your computer's established) you'll be compensated with a "home window" into your disk drive. Callout # 7 programs all the folders on your computer system, so utilize it to browse to the folder containing the pictures you want to upload to Facebook.
Once you get to the folder containing the pictures you intend to post, you'll see small thumbnail images of each picture with a vacant box in addition to them. Those boxes are checkmark boxes (Callout # 8 shows one example of this). All you need to do is scroll down through all the pictures because folder and also click the checkmark box for each photo you intend to publish to your brand-new cd on Facebook. As soon as you've put a check mark close to all the photos you want to upload you can click the "Upload" switch identified by Callout # 9.
Note that you can only post 20 pictures at once which the Upload switch will stay dimmed till you click a minimum of one photo to post.
There are plenty a lot more suggestions concerning publishing images to Facebook, yet I've run out of time for tonight! I wish that this lesson has been valuable to you. Do not hesitate to share it with all your Facebook pals by posting a web link on your Wall surface!


