How Do You Create A Group On Facebook
How Do You Create A Group On Facebook: Have you just joined Facebook and also uncovered the marvel that is a tailored team? Comply with these very easy actions to develop your very own special item of Facebook property.
How Do You Create A Group On Facebook
1
Come up with an original suggestion for a group.
2
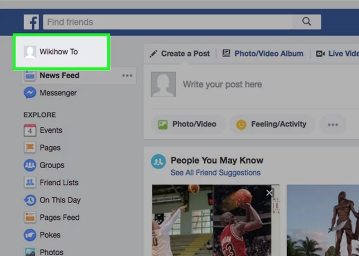
Login to Facebook or create an account if you don't have one yet.
4
Click "Account" at the top, after that Click "Details" from your profile.
5
Scroll to the bottom. To the right of the Groups section, click "See All."
6
Click "Produce a group" at the top of that page.
7
Offer your team a name. Ensure the name stands out as well as simple, if it is also complex, no one will certainly ever discover it as well as your subscription in the group will be limited.
8
Invite your friends by selecting them from your current friend listing or typing their name right into package that is supplied. Click
9
Explain your team in the "Summary" area. Be extremely certain, as keyword searches will match anything you have written in this text box.
10
Fill in the get in touch with details. You could determine to go into things like street address and phone number in the summary, or you can simply establish a Facebook email for your group.
11
Pick your privacy settings. By producing an open group, any person on Facebook will certainly be allowed to see posts as well as sign up with the team. A shut team will permit just invited participants to see blog posts or sign up with, however anyone on Facebook will certainly be able to look the group. A personal group implies that only those invited will certainly see the team, including all its participants and also blog posts.
You can additionally take this time to choose the subscription authorization as well as publishing consent choices.
12
Click "Save".
13
Roll over the top bar of the group. Click the image of a Photo in the leading right as well as pick "Upload image.
14
Choose a network. Keep in mind that this step will just show up if your Facebook has not yet switched over to timeline.
Will your group be accessible just to those in your area or college? If so, choose the region or school from the fall listing of networks to which you belong.
Will your team be accessible to everyone on Facebook? If so, select "Global.".
15.
Pick a classification and sub-category. Note that this, as well, is just a choice if you have not yet changed to timeline. Once more, be specific, as those that are browsing will certainly discover your group just if it remains in the right category.


